
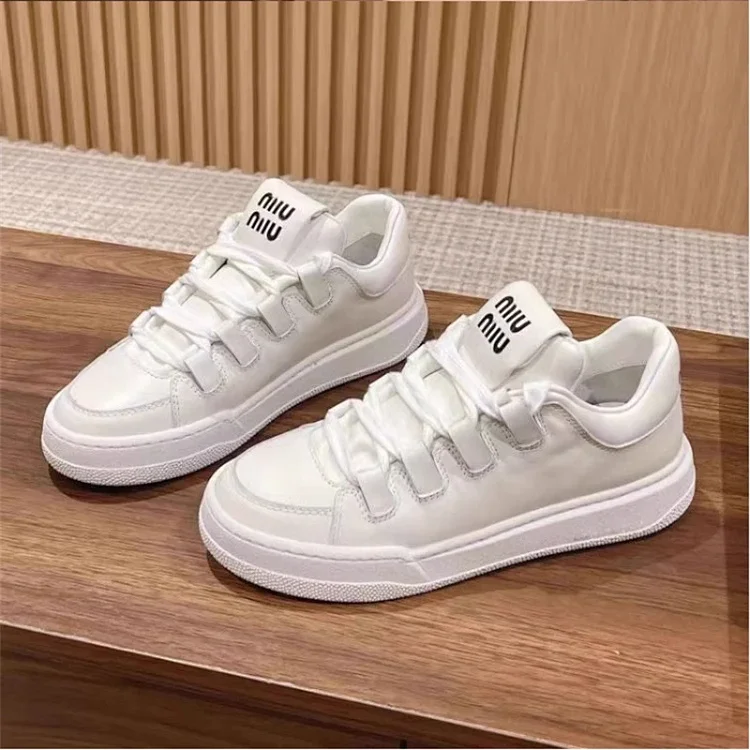
Confirm that every image belongs to the selected option
Begin with identity, not quality. Match the colour, size, model, pattern, hardware and visible label to the option you selected. Product pages may mix promotional images, user posts and option-specific photographs. If you cannot tell which variant an image represents, do not use it as evidence for another variant. Save the selector beside the image set.
For paired items, confirm that both pieces appear together. For electronics, match the exact model suffix and connector layout. For clothing, compare the colour and decoration placement. A familiar logo or overall shape is not enough. False matches often happen before inspection begins, when a reviewer assumes all images on a page refer to one identical item.
Start with complete, neutral views
Use front, back, left and right views taken from a similar distance. Add top, bottom or interior views when the category requires them. Neutral lighting and a simple background make edges, colour and symmetry easier to compare. Deep shadows, filters and strong perspective can make a shape look better while hiding the details you actually need.
Look at the full silhouette before zooming in. Check whether hems sit level, paired shoes align, pockets are placed symmetrically and structured items hold the expected shape. Do not reject a product because of camera angle alone; instead, ask whether the image set is consistent enough to distinguish angle from construction.
Inspect the stress points for the category
Shoes need sole edges, toe shape, heel structure, panel joins and both sides. Tops need neckline, shoulder seams, cuffs, hems, graphics and inside fabric. Trousers need waistband, rise, pockets, inseam and leg opening. Bags need handles, strap anchors, zippers, corners, lining and hardware. Electronics need ports, model labels, switches, vents and included accessories.
The point is not to find microscopic variation. It is to look where use creates pressure. A loose thread away from a seam is not the same as an opening at a high-stress join. A surface mark on removable film is not the same as damage beneath it. Describe what the photograph shows without turning uncertainty into a diagnosis.
Make measurements reproducible
A useful measurement image shows the zero point, tape path and final edge. Garments should lie flat without being stretched unless an elastic range is being measured. State whether a width is flat or doubled. Shoe measurements should distinguish foot length, insole length and outsole length. Bags need length, height, depth and strap drop rather than a hand for scale.
Compare the same measurement method with an item you own. If the listing chart measures from a different point, note the difference instead of pretending the numbers match. One clear photograph can prevent more confusion than several unlabelled dimensions. When a measurement is missing, record it as missing and decide whether it is important enough to stop the comparison.
Control colour, focus and image context
Colour is difficult to judge from one screen. White balance, room lighting, camera processing and display settings can all shift the result. Use a neutral background and, when possible, include a known grey or white reference in the same light. Compare several images rather than treating a saturated promotional photograph as the standard. If colour accuracy is decisive, record that photographs can narrow the range but may not settle it.
Focus should land on the feature being inspected. A large image is not useful when compression or motion blur removes the seam edge. Ask for one full context view and one close detail rather than a close-up with no identifiable location. Reflections on hardware and screens can look like scratches; change the angle before concluding that the surface is damaged. Likewise, removable protective film can create bubbles or marks that do not exist underneath.
Image metadata and captions matter when the set is large. Keep a simple order—front, back, left, right, inside, measurements, details—and label the selected option once at the start. This makes the set easier to review on mobile and reduces the chance that an image from another product is inserted by mistake. Persuasive visual content is not about adding more pictures; it is about making each picture answer one clear question.
Build a category-specific photo sequence
For footwear, use both shoes together, top, outer and inner sides, rear, outsole, insole and length. For clothing, use front, back, side, inside, label, flat measurements and decoration close-ups. For bags, add every side, base, lining, closures, strap attachments and dimensions. For electronics, add all ports, model label, power information, included accessories and a functional screen or indicator when relevant.
Keep the sequence short enough to review. Ten purposeful images are better than thirty near-duplicates. Put measurements after the full views so the reviewer understands where each number belongs. If the item has one decisive risk—an asymmetric graphic, fragile hinge or regional plug—give that feature its own full-context and close detail pair.
On mobile, avoid a horizontal carousel that hides the total set. A compact two-column grid with clear captions lets the reader see what exists and what is missing. Images should include dimensions in the HTML to reduce layout shift and descriptive alternative text for accessibility. Visual persuasion and technical quality support each other when the image is relevant, compressed and connected to the surrounding explanation.
Use photos to create questions, not guarantees
Images can support a conclusion such as ‘the visible chest width matches the chart’ or ‘both shoe heels appear similar from the rear.’ They cannot support claims about fabric composition without a reliable label, battery life without testing or authenticity without qualified evidence. Hacoo’s own terms say independent creators remain responsible for their content, so a community image should not be treated as official certification.
If an image raises a concern, ask for the exact additional view that would resolve it. ‘More photos’ is vague. ‘A straight rear view of both heels together’ is actionable. If the requested evidence never appears, keep the result unresolved. An incomplete inspection is not automatically a failed product, but it is not a verified one either.
Keep a short, private decision record
Record the option, date, decisive measurements, any missing view and your decision. Keep personal order details private. This note helps if the product page changes or if an after-sales request later needs a comparison between the selected option and what arrived. It also prevents you from redoing the entire inspection after a day away from the page.
A sensible record is brief: ‘Grey, size 42; insole 27.1 cm shown; both sides and rear checked; outsole view missing; continue only if outsole is not decisive.’ The language is factual and leaves room for uncertainty. That is more reliable than a vague ‘QC passed’ badge, which can imply a level of certainty that photographs cannot provide.
Quick process
- 1Match the exact option
- 2Check full neutral views
- 3Inspect category stress points
- 4Record measurements and missing evidence
Independent editorial inspection method informed by Hacoo’s platform role and creator-responsibility statements. It is not an official authentication or quality service.
Official policies and external listings can change. The live page and order-specific instructions remain the final reference.
Sources reviewed
Terms of Service — independent creator-content responsibilities
Current product images and category routes
Category-specific visual-evidence checklist
Continue with the closest category
Use the guide as context, compare one real wardrobe role, then confirm the exact current option.
Browse the related category